Update May 2023
The user experience around merge fields has changed quite dramatically. Today you can change the merge fields by using the button at the top of the Studio and easily add new merge fields without needing to go into settings.
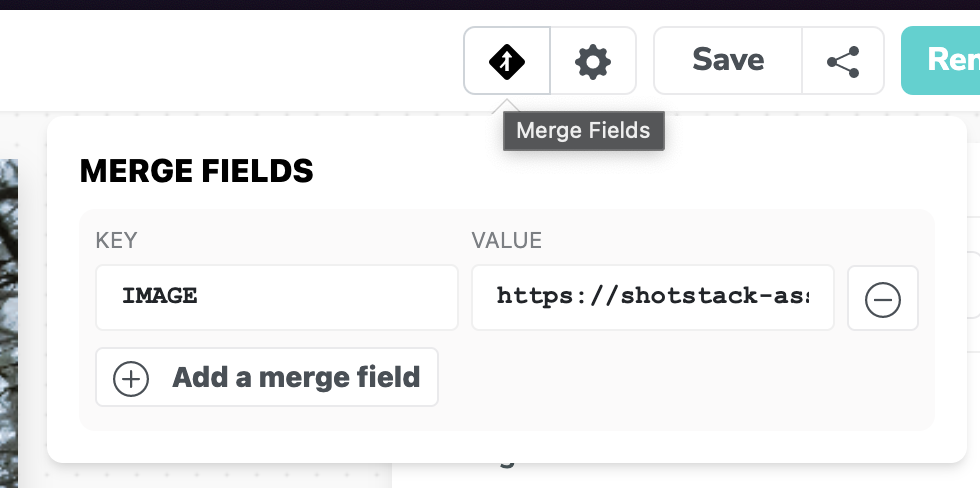
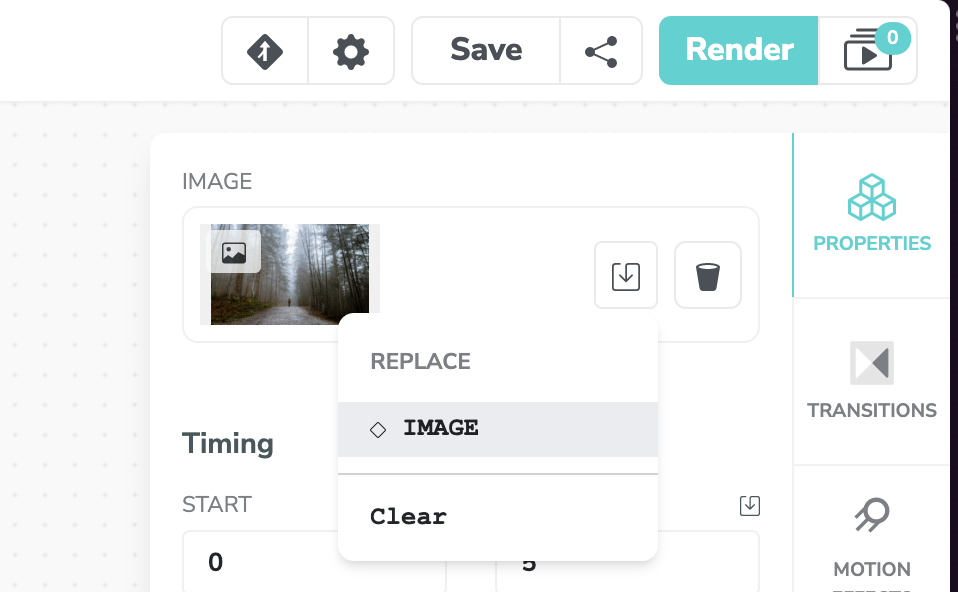
You can then proceed to use the replace button near a property to replace this with the contents of your merge field.
The change should show immediately in the preview, providing you with an immediate idea of what your video will look like with the placeholder value.
This video shows the process in action:
June 2023
We just released the ability to setup merge fields and apply these to an image or video source using the dashboards Studio Editor.
Here is a quick run down on how to set up the merge fields, and how to assign them as the video or image source.
Make sure you are logged in to the dashboard and have opened up a template in the Studio.
Next click on Settings and find the Merge Fields section. Here you can set up the placeholder names and add a test or dummy value.
Add a merge field like similar to the one below:
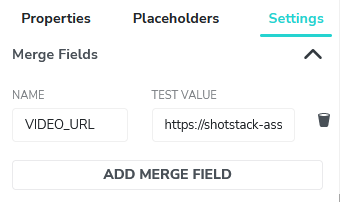
In this example I used the name VIDEO_URL and the test value of https://shotstack-assets.s3-ap-southeast-2.amazonaws.com/footage/city-timelapse.mp4. The test value is the URL to a video.
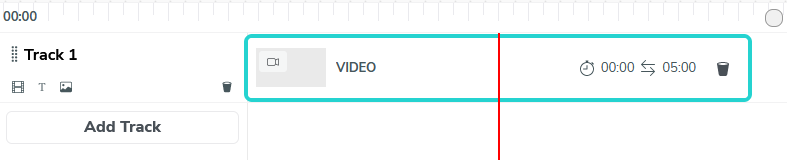
Next create a video clip on a track like this:
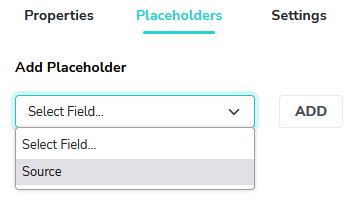
Make sure the clip is selected in the timeline and click the Placeholders tab in the right hand panel. From the drop down, select Source and click Add:
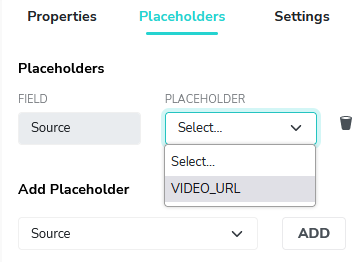
Then choose the VIDEO_URL merge field you created earlier as the placeholder value:
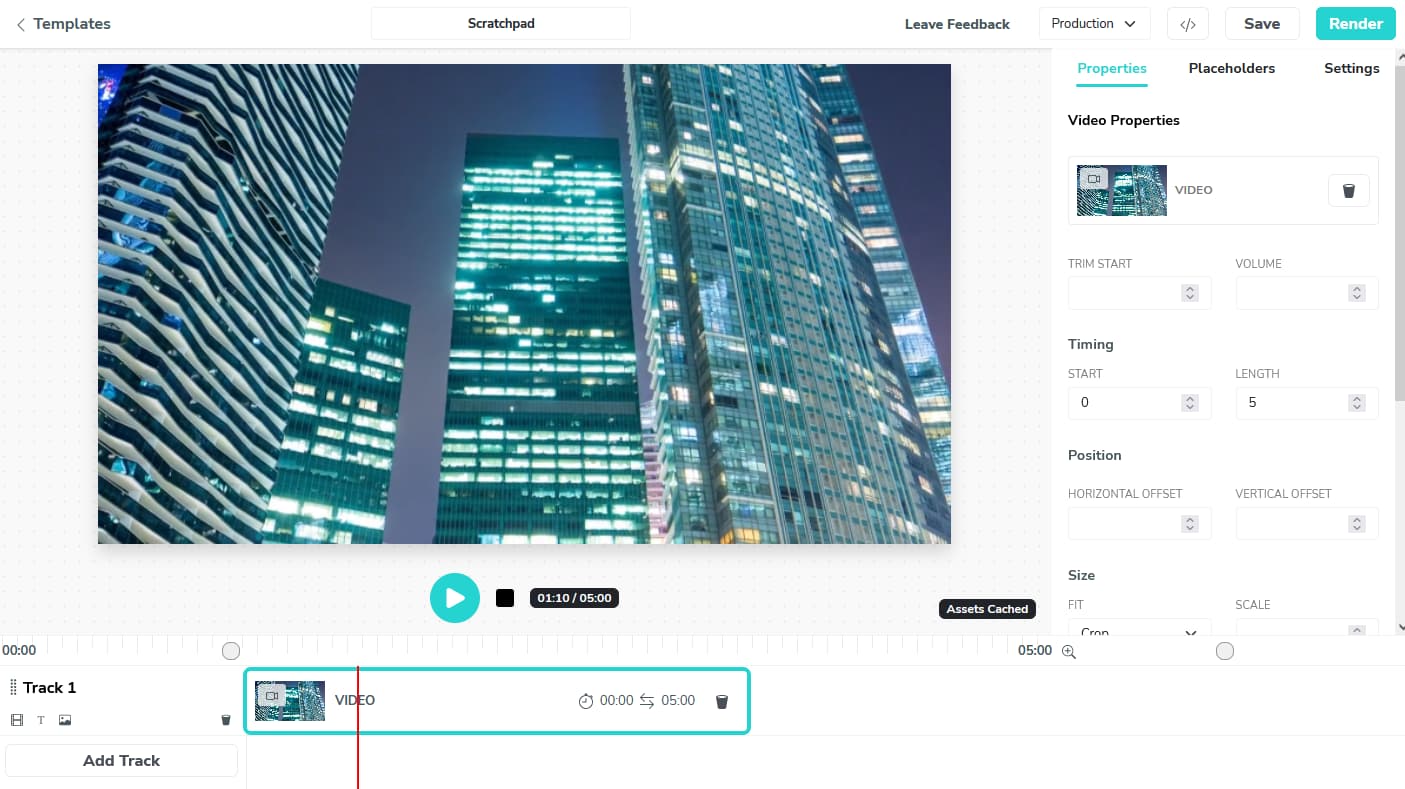
Once that is done the video file should be merged in to the preview, timeline and clip properties like this:
If you want to use a different video clip you can simply change the value under Settings > Merge Fields.
This is a great way to quickly swap assets around and test how merge fields might work when you move to building a fully working application.